

Wondering how to use images on your blog? Maybe you’re not even sure if you should be using images on your blog at all.
Using images effectively isn’t just about choosing the right photos. You need to know how to optimize your images for SEO best (so that they can help your blog posts rank higher in search engines). Beyond that, blog images can also help convert first-time readers into returning subscribers, increase the time readers stay on your blog post, and so much more.
In this guide, I’ll explain everything you need to know about choosing the right blog images, thoughtfully placing them in your blog content, and using them to boost your SEO ranking.
6 Best Practices for Using Images on Your Blog in 2026
- Blog Images: Why Use Them?
- Understanding Blog Image Copyright
- Five Ways to Find (and Make) the Best Images for Your Blog
- Choosing the Perfect Image for Your Post
- Four Basic Rules for Optimizing Your High-Quality Blog Images
- How I Use My Blog Images to Rank in Search Results
Disclosure: Please note that some of the links below are affiliate links and at no additional cost to you, I’ll earn a commission. Know that I only recommend products and services I’ve personally used and stand behind. When you use one of my affiliate links, the company compensates me, which helps me run this blog and keep my in-depth content free of charge for readers (like you).
Want to Start Your Blog (the Right Way)?
Check out my ultimate guide How to Start a Blog (on the Side).
First, let’s take a look at why images matter.
Blog Images: Why Use Them?

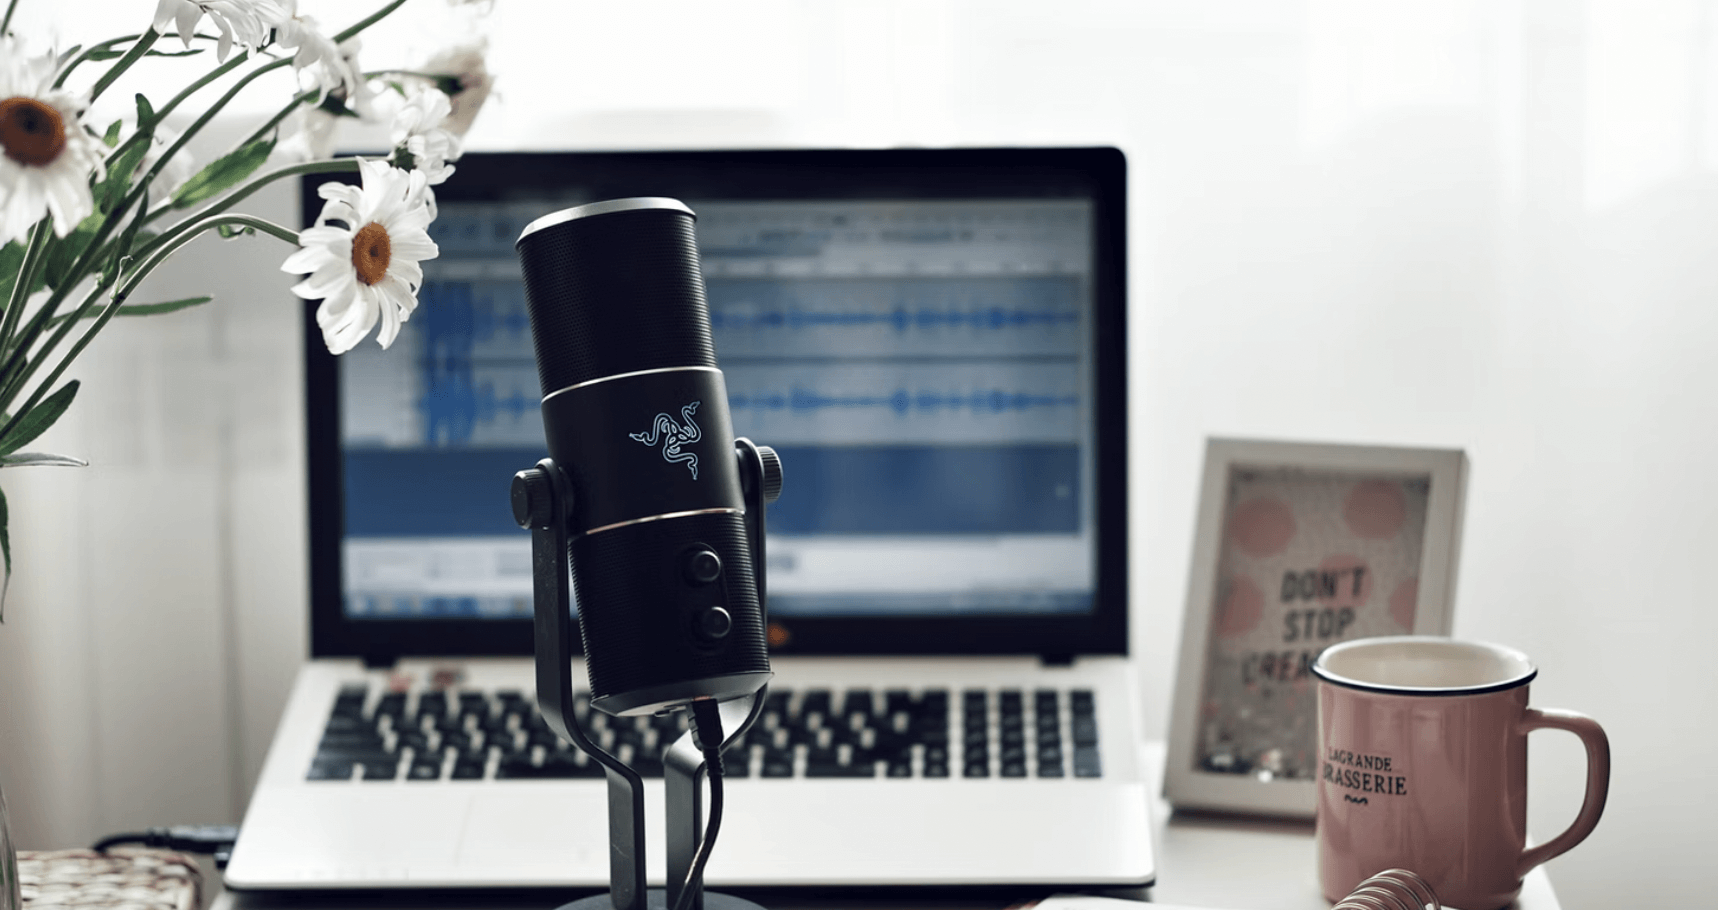
There are many good reasons to use images on your blog, whether headshots (like this blog image here), photos, screenshots, or even illustrations.
Images Add Visual Interest to Your Blog Posts
One straightforward but important reason to use images is that they help make your posts look more exciting and engaging.
Images can make a huge difference when you only have seconds to make a great first impression on readers.
In addition to adding color and visual interest to your posts, images help create more “white space” (that’s all the blank space where you don’t have words or pictures). This makes your posts easier to read.
Images Can Quickly Convey Meaning

Have you ever heard the saying, “A picture is worth a thousand words?” Sometimes, a well-crafted image can convey a lot of information almost instantly.
For instance, a graph or chart could show information you’d otherwise have to convey through a list or table.
Take a look at my tutorial on how to start a blog, for example, where I include lots of images showing exactly what to click.
If you’re writing a tutorial, including photos or screenshots can make it much easier for readers to follow the steps. Make sure to screenshot the whole page so that readers can see all the vital information and better understand what you’re trying to explain.
Images Break Up Long Posts
Have you got a long, in-depth post? If it’s only text (or text with just one image at the top), it will be quite challenging for readers to engage fully. Hence why, something like an infographic-driven article, like my answer to “How much do bloggers make?” can do so well in terms of social shares.
Using images lets you break up long posts, adding visual interest throughout and giving readers some mental breathing space.
For instance, in my article on common blogging mistakes, I use images throughout the post to help illustrate particular points and give readers a quick break from reading.
Images Help Add Connection and Personality to Your Blog
It can be challenging for readers to connect to you through your words. They might not have much of an idea of what you’re like or picture you.
But by forming a stronger connection and conveying a sense of your personality through well-chosen images, you can turn casual readers into long-term fans — and customers.
In my post rounding up advice from top bloggers, I include a headshot of each blogger alongside their quote. This helps personalize the advice and shows that it comes from real people.
Understanding Blog Image Copyright
Before we go further, I want to ensure you’re steering clear of one huge mistake bloggers often make with images.
You’re convinced that using images on your blog is a good thing. And it is! So go to Google Images and type in what you want to use to illustrate your latest post… maybe “woman typing” for a blogging-related article.
There are many different results. You can save one to your computer, upload it to your blog, and insert it into your post.
Job done?
No! You’ve made a really serious mistake that could cost you a considerable sum of money.
Images are often copyrighted.
That means that you can’t use them without permission. If you do, you could get sued.
Please don’t think I’m trying to fear-monger here or unnecessarily worry you.
In a moment, I will discuss some great sources of copyright-free images. But just picking an image from Google could land you with a fine of thousands of dollars.
It’s essential to use images that aren’t copyrighted. Luckily, there are plenty of great sources of paid and free images that you can safely use on your blog.
6 Ways to Find (and Make) the Best Images for Your Blog
How can you find the best images for your blog? Here are some of my favorite (and safe) sources to try.
Using Your Photos or Artwork
Any images you create are automatically copyrighted and are usually the best source for your blog images. You can freely use them however you like (though others can’t unless you permit them).
If you’re a travel blogger or food blogger, readers will probably expect to see some of your photos (like I’m doing with my new hiking blog, Hike With Ryan). This helps add authenticity to your blog.
Don’t worry if your photos aren’t perfect… they’ll be much more personal and relatable than stock photos.
However, when using personal photos on your blog, do consider privacy concerns. You may want to avoid using photos of your children, for instance, or photos that would closely identify where you live.
Some bloggers dislike using their photos, especially if they’re blogging under a pseudonym.
Stock Photos
One of the most significant sources of images for blogs is stock photography.
These tend to be quite generic photos (mainly, but not exclusively, work-related) used on websites, in magazines, and even on book covers. They cover a vast range of different topics.
6 Best Stock Photo Websites for Blog Images
You can tap into many different sources for stock photos online. Some of the best ones to try are:
- Unsplash (free): This royalty-free stock image site has one of the most extensive libraries of beautiful photos, graphics, and images on the Internet.
- Freepik (free and paid): This site offers free and premium (paid) options for thousands of vectors, photos, PSDs, and icon graphics. The free graphics are always no-strings-attached for personal use, but they require attribution for commercial use.
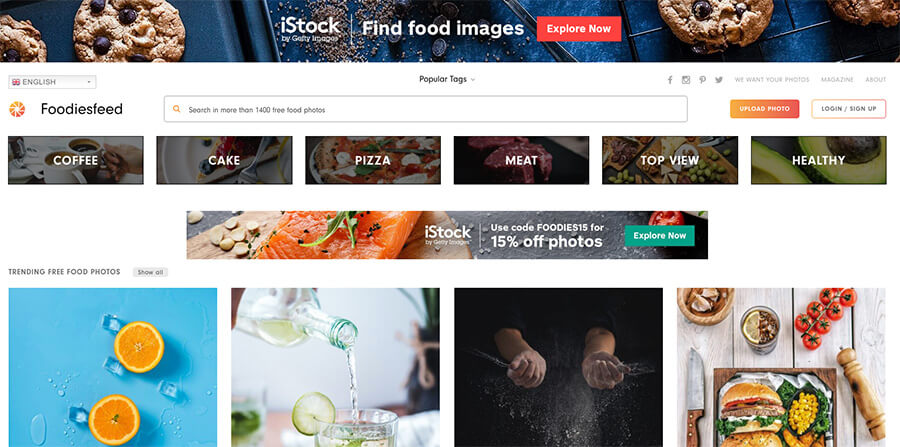
- iStockPhoto (paid): You pay for images using credits or through a subscription pack. (You can also buy stock video clips and music.) You’ll find various images, including photos, vector illustrations, cartoons, icons, and more.
- Shutterstock (paid): This site is similar to iStockPhoto, and it offers a wide range of images, video clips, and music for use.
- Pixabay (free): All the content on Pixabay (photos, vectors, video clips, music, and more) is free. You won’t get the same quality or range as on iStockPhoto or Shutterstock, but for many newer bloggers, Pixabay can provide all the images they need.
- Pexels (free): Like Pixabay, Pexels offers copyright-free images and videos you can use on your blog. It’s worth searching both sites to find the perfect photos or images for your posts.
Let’s discuss creating your blog images (or graphics), starting with a few tools that will help immensely.
Canva
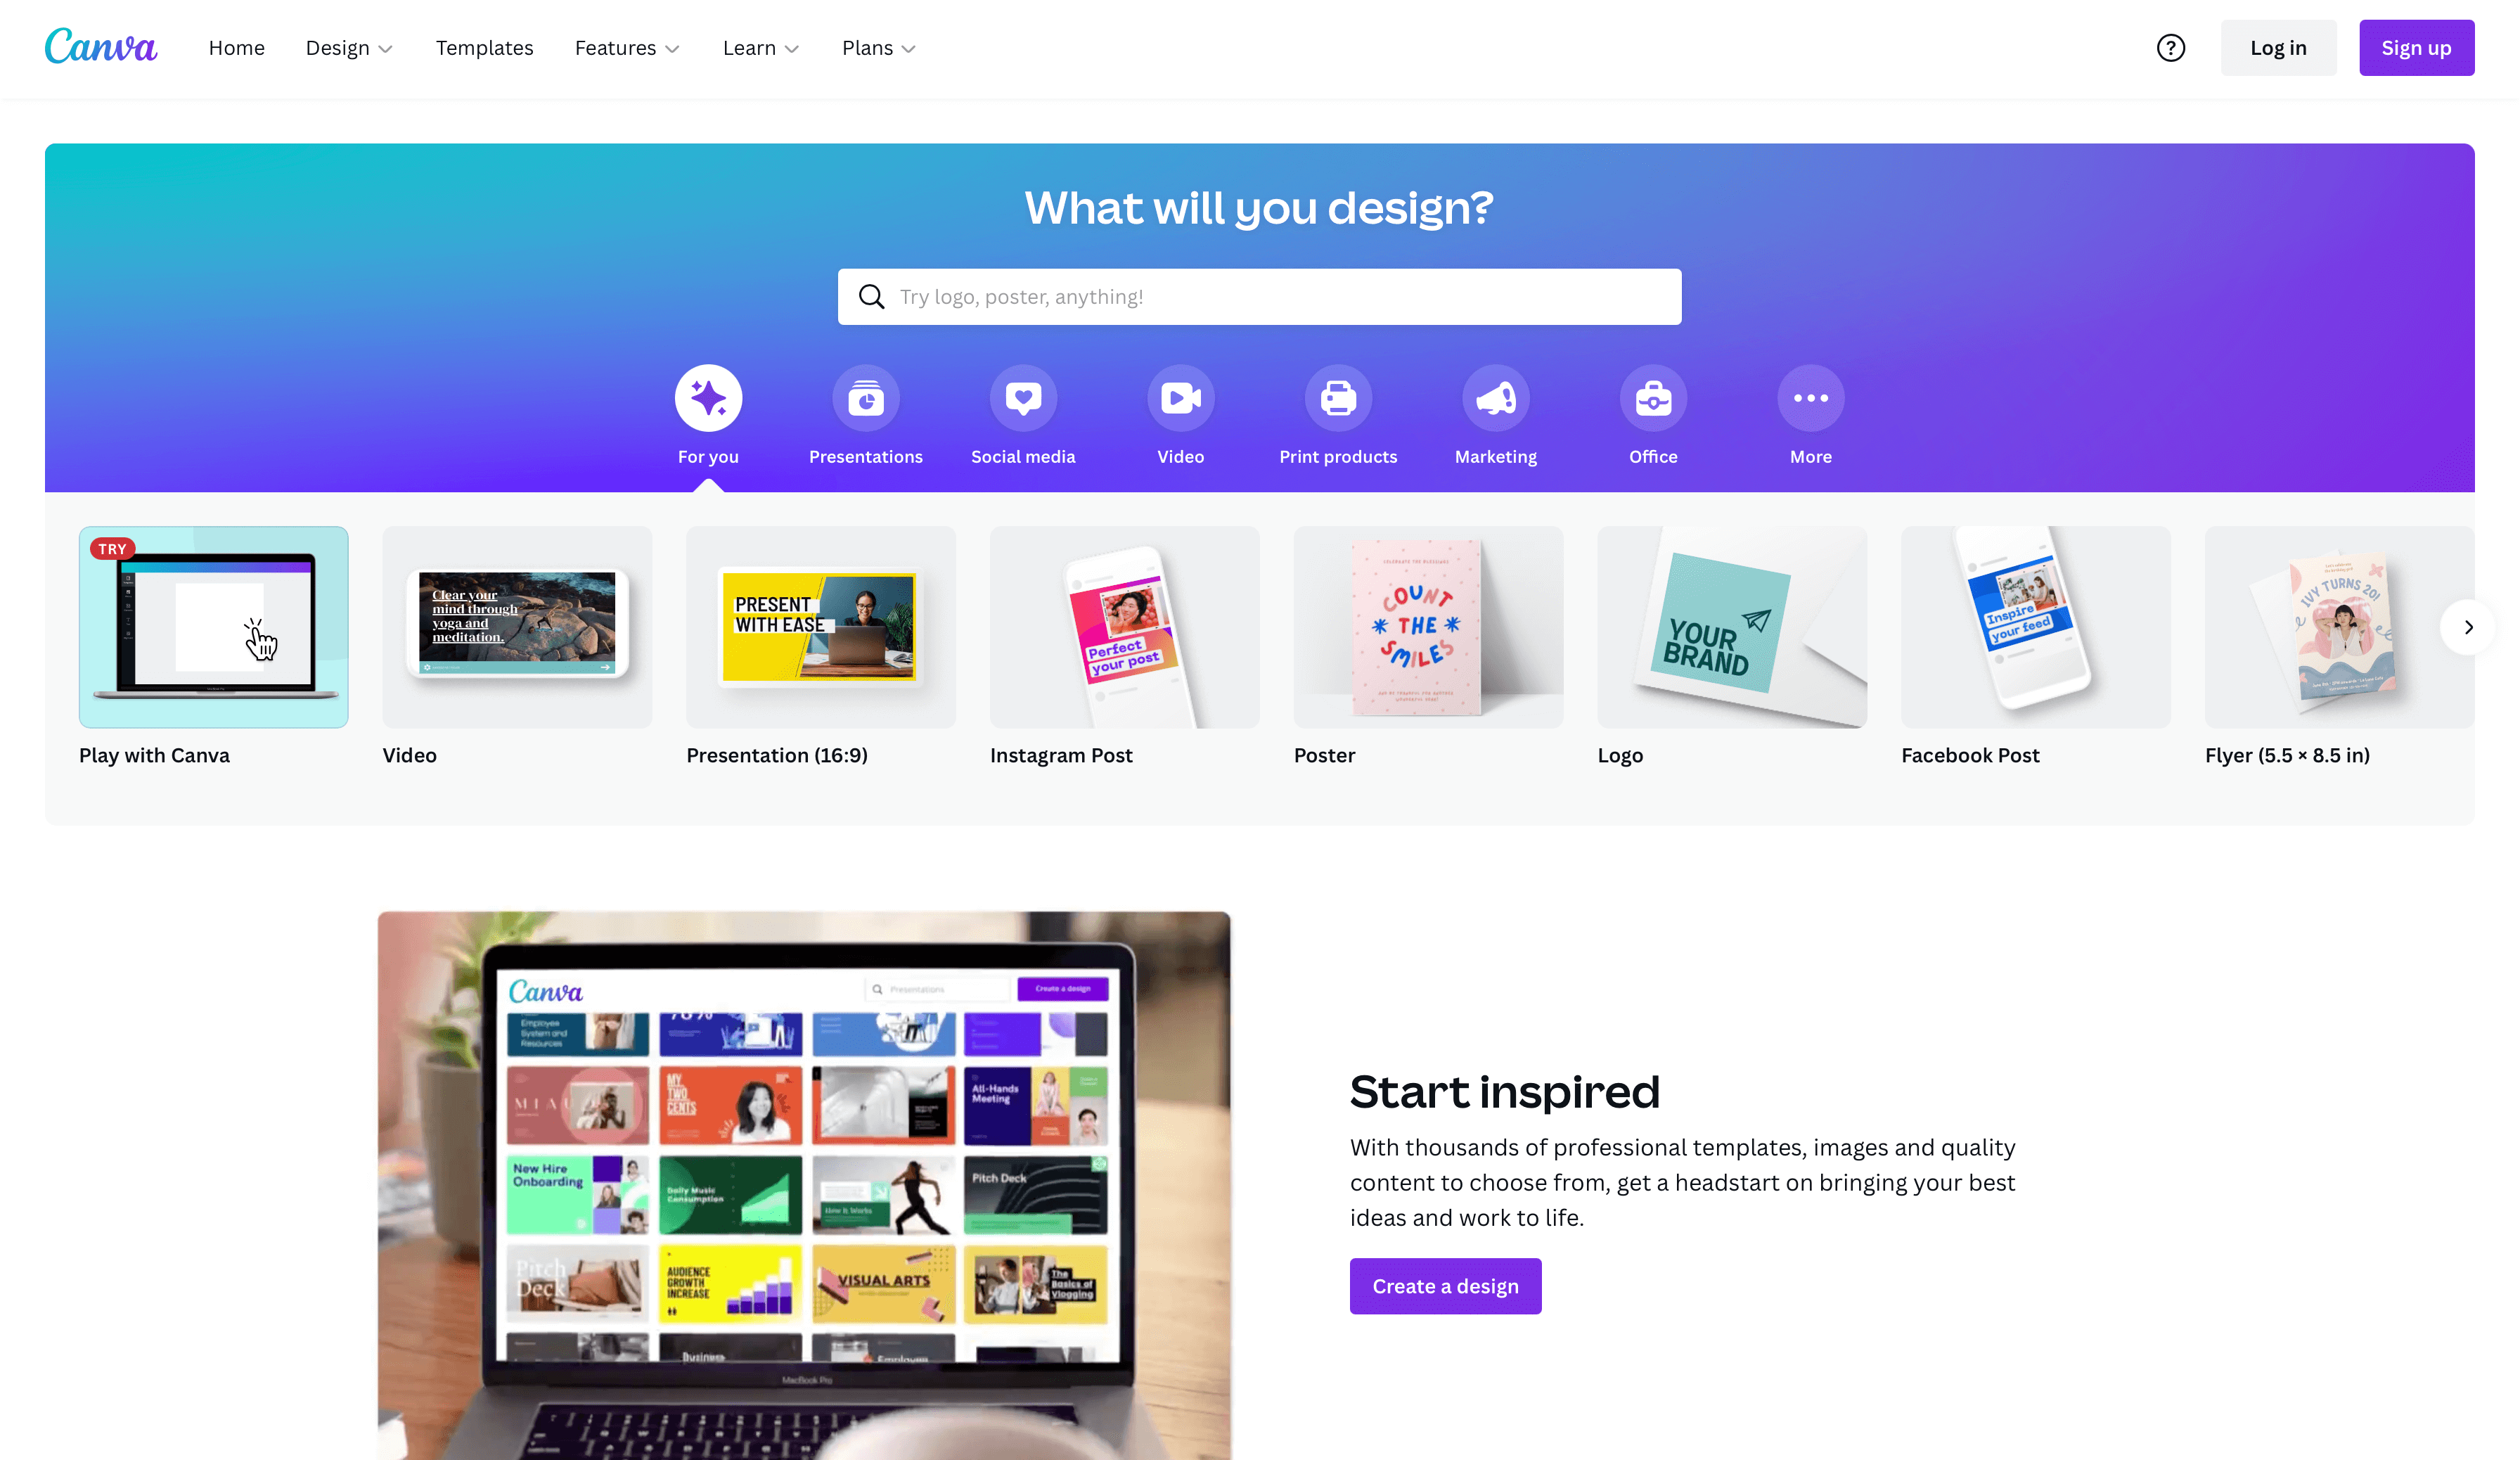
Canva is a very popular online image-creation platform. Even with a free plan, you get many stock photos, icons, clipart, and other images included.
Upgrading to a pro plan allows you to access over 100 million premium images, audio, and video.
While you won’t get as much choice as on dedicated stock photo sites, the significant advantage of Canva is that there’s no limit on how many images you can use.
You can quickly and easily customize images or create graphics using multiple images and elements within Canva’s platform.
Many bloggers use Canva to create branded featured images that they use on Pinterest and other social media sites when linking to their posts.
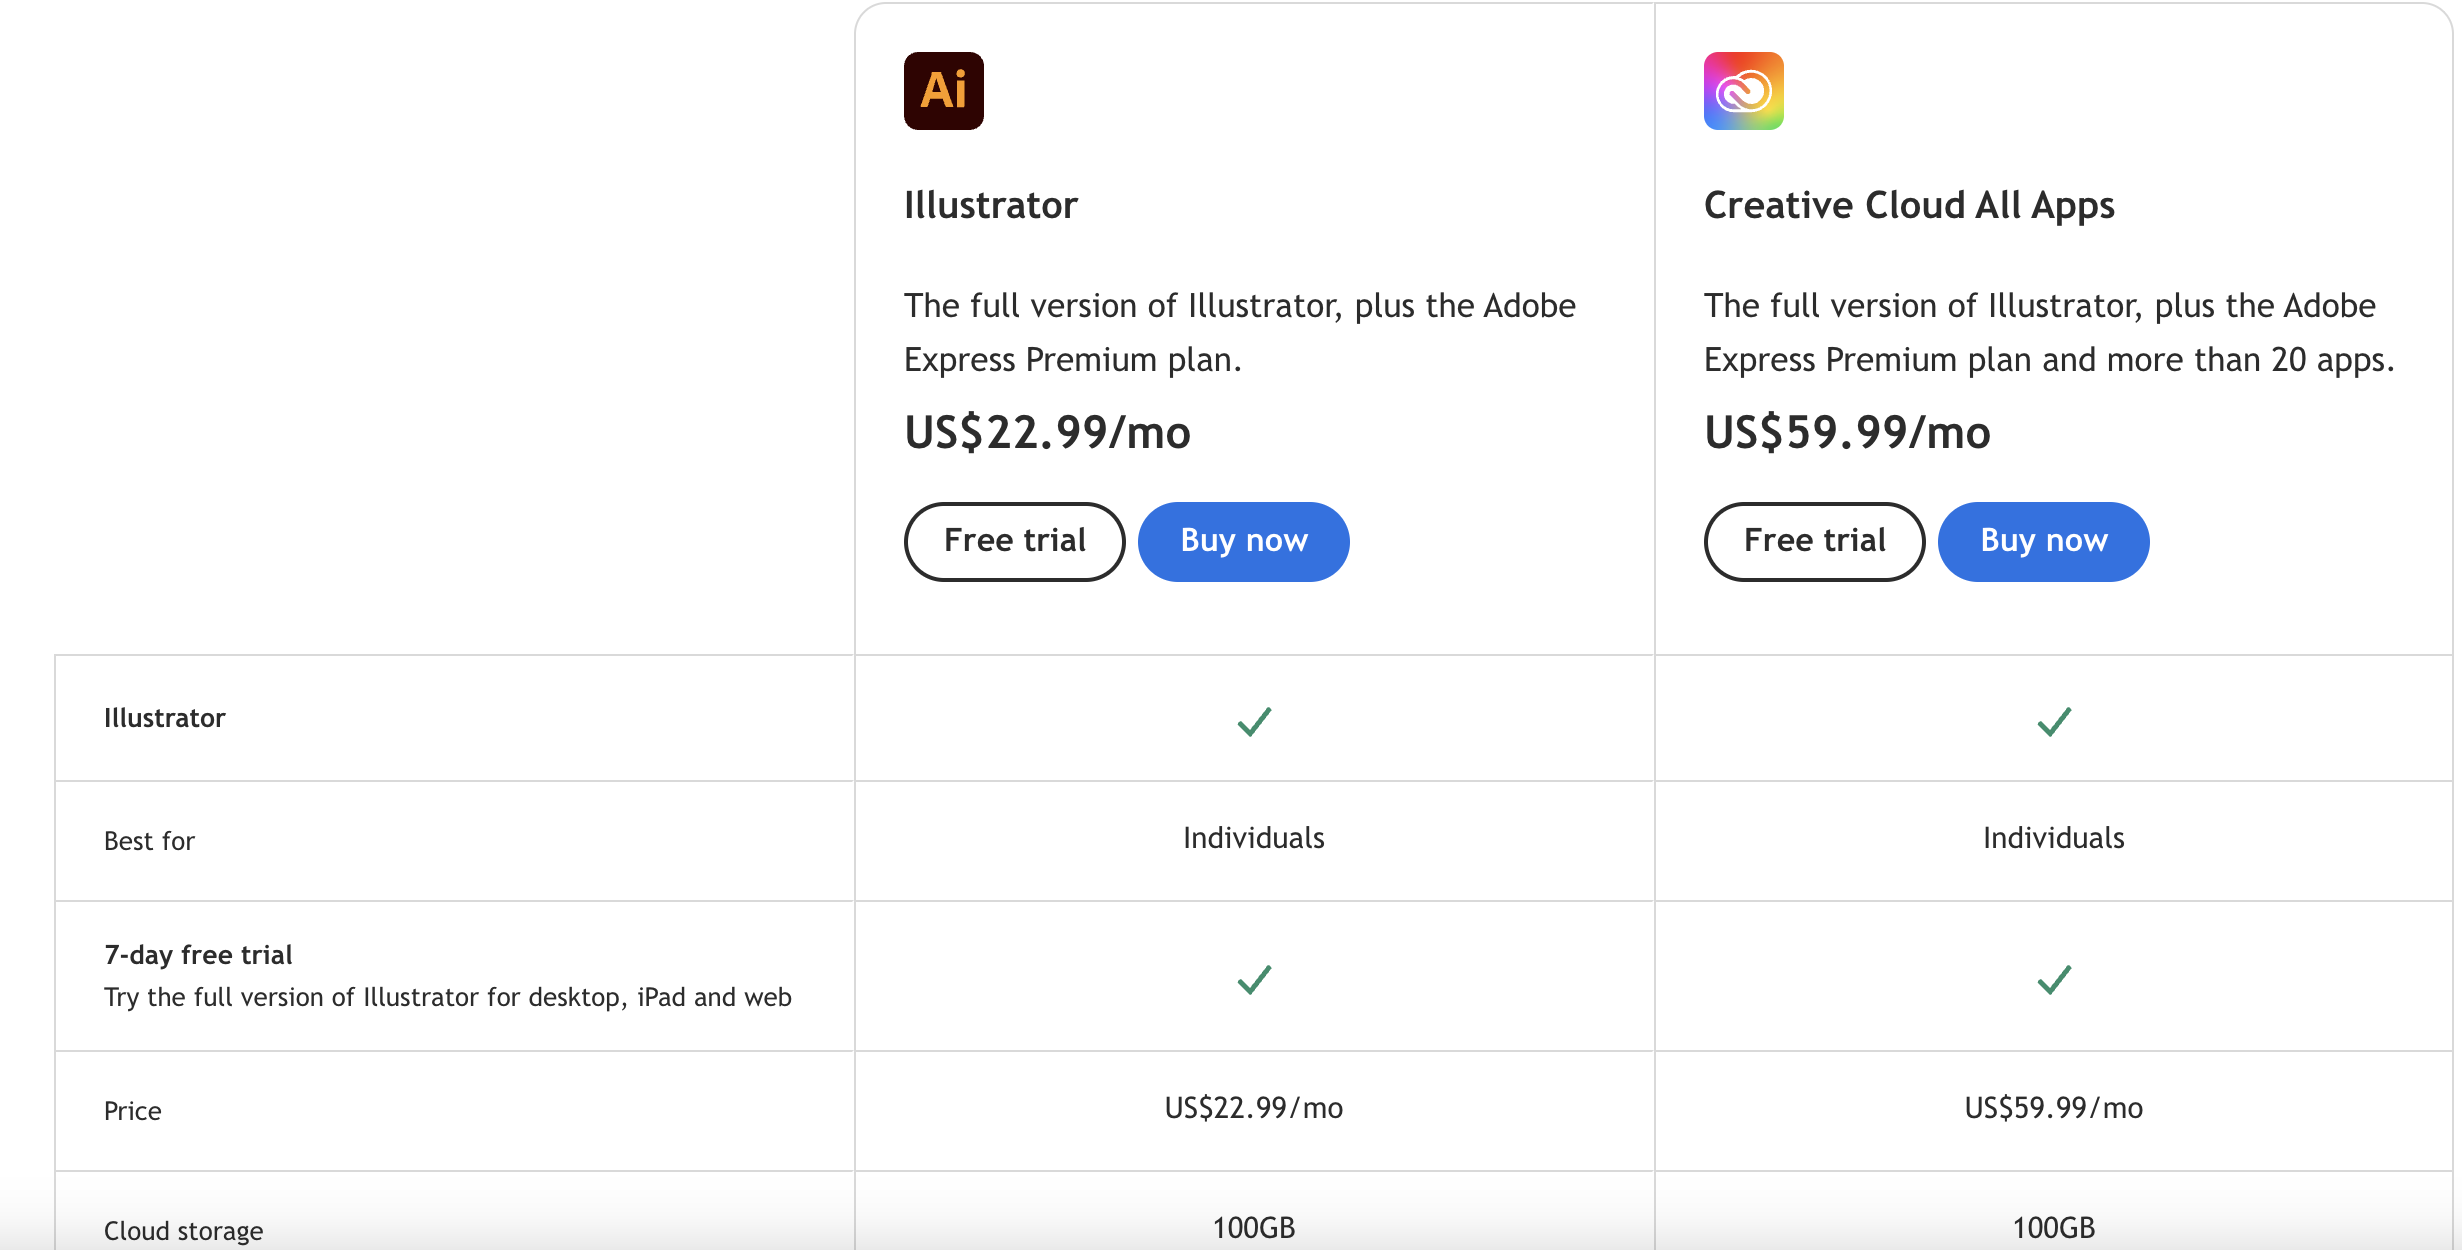
Adobe Illustrator

Adobe Illustrator is a popular vector graphics and design program. It’s a great option for creating graphics and images for your blog.
Illustrator can be Used to create logos, buttons, ads, promotional graphics, and more. It can also be used for photo editing, such as cropping and resizing a photo.
Illustrator isn’t cheap, but it costs $22.90/month if you pay upfront for a year. If you don’t already use Illustrator, you’re probably better off using other options.
Screenshots
If you’re writing tutorials or reviewing software, screenshots are a must-have. It’s usually fine to use screenshots in the context of a tutorial or review — make sure you’re not taking screenshots of proprietary information.
For instance, if you’ve purchased an online business course, you shouldn’t share screenshots of the course materials. If you’re unsure, check with the website or product owner.
To take a screenshot, hit the Print Screen key on Windows, Shift+Command+3 on a Mac, or Ctrl+Show Windows on a Chromebook.
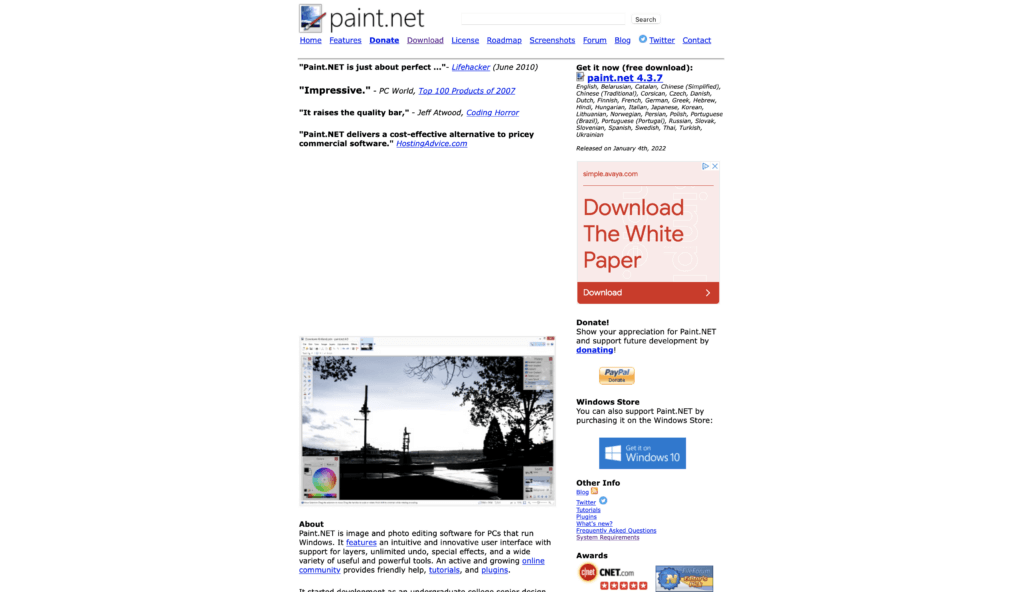
This will take a picture of your whole screen. You can paste your screenshot into any graphics editing program, such as Paint.NET, where you can crop it down if needed.
If you want to add features like arrows, boxes, or text to your screenshots, you can use a dedicated screenshot app like Snagit.
Converting HEIC Screenshots
If you’re capturing screenshots on an iPhone or certain Mac devices, your images may save in HEIC format. This format is efficient but not always compatible with all software or websites. In that case, you can easily convert your HEIC files to the more widely supported JPG format using a free, browser-based tool like HEIC to JPG. Just upload your HEIC images and download them instantly as JPGs — no installation required.
AI-Generated Images
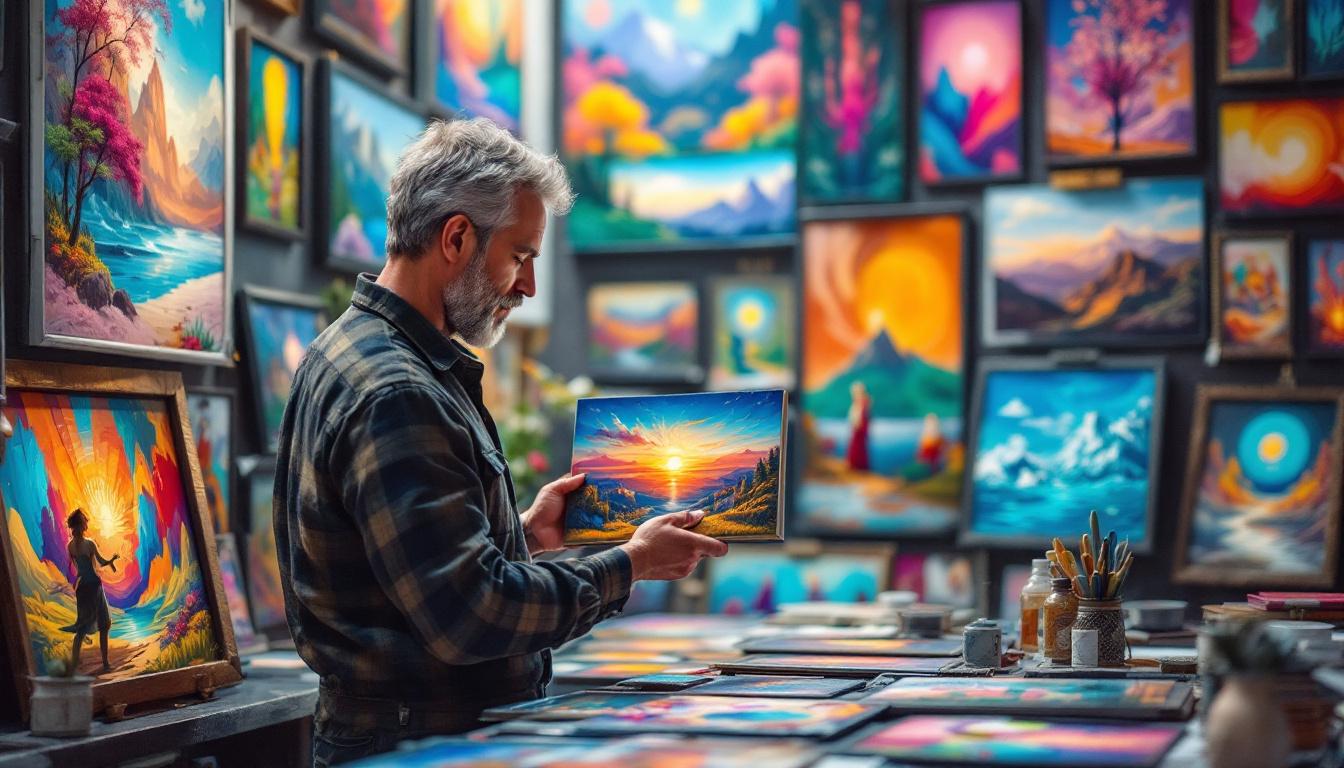
In addition to stock photos, AI-generated images are a great way to create and use visuals. Platforms like MidJourney, offer a great way to generate premium looking images or graphics with AI. While these tools are useful for blogging, I would highly recommend limiting their use as much as you can or being transparent that something is an AI image when displayed.
I also offer my own free AI image generator, providing a free and easy way for you to experiment with AI generated images. If you want to add pictures to your blog or try new creative things, AI-generated images can be useful.
Choosing the Right Blog Image for Your Post
Whatever source you’re using, it can be challenging to determine which blog image fits best with the content.
Some images might seem too corporate and stuffy for the occasion. Others may look amateurish. You might be unsure about how best to illustrate a concept or idea.
It’s worth spending some time choosing images rather than picking the first one you come across. To get the best images, I recommend that you:
- Avoid using the top few images that come up for your search term: lots of other bloggers will be using them, too! Dig a little deeper. Ideally, you’ll want to shortlist a few options for each post.
- Consider your blog’s color scheme: Will the photos fit or contrast nicely? Or will they clash with the other colors on the page? You might want to try out a few options in a draft post to see how they look as part of the overall piece.
- Consider which types of images you want to use: Some bloggers use cartoons, and others use images that feature children. Using a similar kind of image across your blog helps create consistency.
- Make sure images are consistent with your brand: Brash, angry images won’t fit if your writing style is very easygoing and calm.
- Take a few extra minutes to edit the images you pick: Often, cropping an image to focus on one element more tightly — or to remove something you don’t like — can instantly improve it.
- Think about your audience and how they’ll relate to the images you choose: If you’re writing for retirees, don’t pick loads of images that feature teens and 20-somethings. If you’re writing for parents of babies and toddlers, don’t use photos of school-aged kids.
- Ensure you’re picking good-quality images: Generally, you’ll want them to be crisp and focused. You don’t want blurry snapshots. Search on several sites, if necessary, to ensure you have plenty of great images.
- Think about how your images work in the context of your other posts: You don’t want your images to be too similar. Equally, you may want to ensure that your images represent different genders and races over several posts.
Now, let’s discuss best practices for ensuring that your blog images are optimized and will serve a purpose in your overall content strategy.
4 Basic Rules for Optimizing Your High-Quality Blog Images
Now that you’ve chosen a great image to illustrate your post and downloaded it to your computer, you must know how best to use it. Here are some key rules to follow.
Resizing Your Image
When you take a photo, it’s likely to be much larger than you need for your blog. A photo from a smartphone, for instance, might well be 4032 x 1960 pixels.
Most blog images are around 500 to 800 pixels wide, depending on the size of the content area in the blog’s theme.
If you upload a larger image, WordPress will automatically resize it to fit within your blog post area — it won’t overlap with your sidebar or other areas of your blog, so you might think there’s no problem.
The issue is that the image is more significant than it needs to be, so it’ll take extra time to load. You want to resize your images before uploading them to your blog.
It’s also a good idea to resize images consistently, both within posts and across your blog as a whole. For instance, many bloggers use a 500 x 300 or 550 x 330 image at the start of each post.
You can resize your image using free software such as Paint.NET. You can also resize batches of images online using tools like Bulk Resize Photos.
Compressing Your Image
Simply resizing your image will reduce the file size quite a bit. But you can compress the image to get an even smaller file size (and thus a faster loading time).
The critical thing to understand about image compression is that the more you compress an image, the lower its quality will be.
You want to strike a balance between quality and file size.
Many images, particularly photos, will show little or no visual difference after compression. The photo should still look as good as before, but it’ll load much faster.
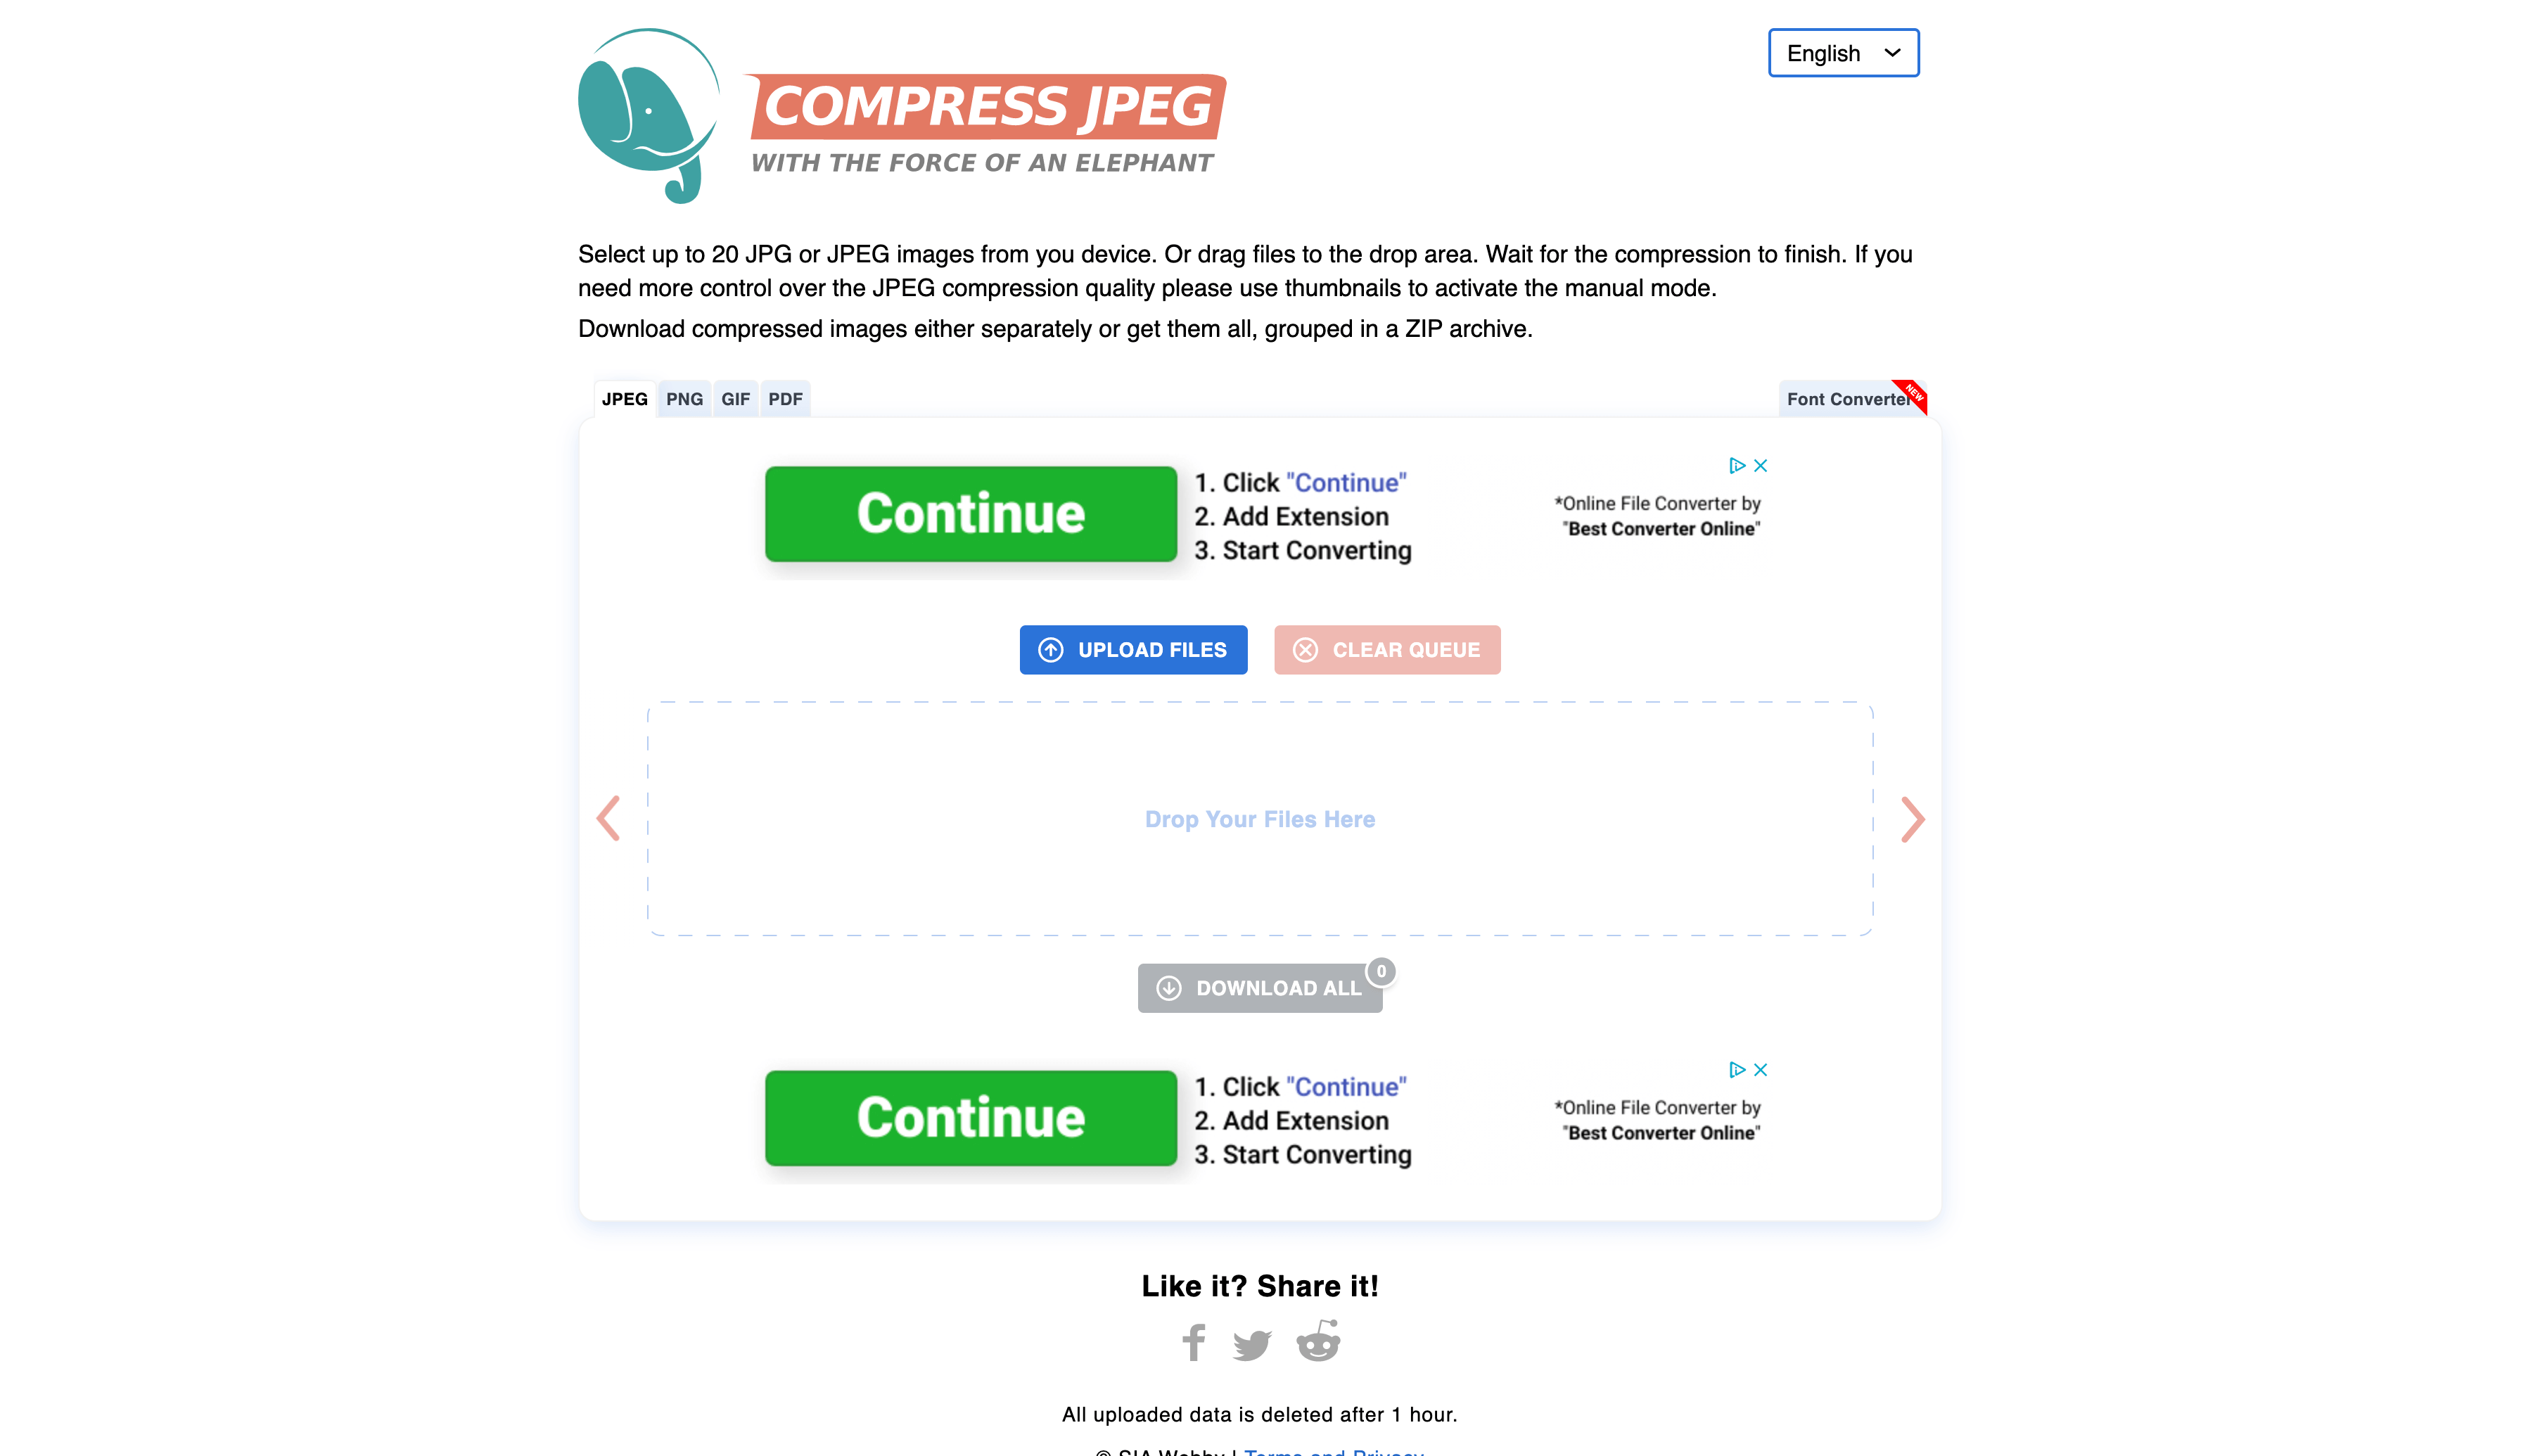
CompressJPEG and TinyPNG (which also has a great WordPress plugin I recommend right here) are great online tools to use.
Tip: Use the JPG format for images with many colors, like photos. Use PNG format for images with just a few colors, like screenshots or simple cartoons, and particularly for images with text. This will give you the best quality for file size.
Placing Your Image
Now that you’ve resized and compressed your image, you can add it to your blog post. Where should you place it?
Many bloggers include an image right at the start of their posts. This image might be branded with the blog’s name and the title of the post added to it.
You can also use images wherever you like throughout your post. I recommend adding as many blog images as you feel necessary to visually break up sections of your content where there’s too much text and reader attention could slip away.
The simplest way is to center each image on its line rather than having it to the left or right of the text. This means it should display well on all devices.
If you’ve got a long post, you might want to think about how to use images consistently. For instance, you might use an image at the start of each subsection.
Tip: Not sure how to add an image to your blog post on WordPress? Add an Image block, then upload or drag your image into place. You can also create an image block and select from images already in your media library.
Adding Text to Your Image
You can add text to an image itself (before resizing and compressing it) using a graphics editing program or screenshot tool.
Alternatively, you might want to add a caption to an image.
You can do this in WordPress: click on your image to select it, then the space immediately beneath your image should show “Add caption.” Just click there and type in your caption.
How I Use My Blog Images to Rank in Search Results

Using images correctly is essential for your on-page search engine optimization.
While your images won’t have such an impact as some other elements of your post (like the title), they’re still good clues for search engines about the topic of your post.
Search engines need text to understand what your photo is about, however. This means that your images should have two things: an image title and alt text.
Image Titles
Your image title isn’t a caption for your image. It’s not generally visible. On most browsers, it appears when a reader moves their cursor over the image.
(If you read the webcomic xkcd, you’ll know how title text is often used to add an extra joke.)
Your image titles should include your keywords. For instance, if your post is about “How to Start a Blog,” you might have an image of a woman at a computer—it could have a descriptive title like “Starting a blog” or “Woman at the computer, starting a blog.”
To set an image title in WordPress:
- Click on your image
- Select the ‘Advanced’ dropdown in the Block pane on the right-hand side of your screen
- Enter the title in the “Title attribute” box
Because it appears when the cursor is moved over the image, you’ll sometimes hear the image title described as a “Tooltip.”
In HTML code, the image title looks like this—here, the title part of the image tag is in bold:
<img src=”woman-at-computer.jpg” alt=”Woman seated at a laptop computer, starting a blog.” title=”Starting a blog”
Alt Text
Your image alt text is designed for screen readers and visually impaired users. It should clearly describe what’s in the image.
If your image includes text (like a screenshot from another blog post), you should type this into the alt text to make your post fully accessible.
It’s a good idea for your alt text to contain keywords like the title text. But it’s also vital that it describes the image, as that’s the purpose of alt text.
To boost your SEO efforts, try to give all images on your blog both a title and alt text. If you aren’t sure where to start when writing ALT text you can use a tool like Image Caption Generator to get inspired.
In HTML code, the alt text looks like this—with the alt text part of the image tag in bold here:
<img src=”woman-at-computer.jpg” alt=”Woman seated at a laptop computer, starting a blog.” title=”Starting a blog”
Conclusion: Using Images on Your Blog to Build Engagement and Boost Your SEO
Using images on your blog doesn’t need to be scary or difficult. You need to keep these basics in mind:
- Ensure every post on your site has at least one image to add visual interest.
- Always choose copyright-free images. You could create them yourself or use stock photo websites.
- Resize and compress your photos before uploading them to keep your posts loading as speedily as possible.
- Add a title and alt text to your images for search engines and accessibility.
If you’re still getting your blog up and running, make sure you check out my post on How to Start a Blog. It goes through everything you need to know — and, of course, there are plenty of images along the way to help you.
Want to Start Your Blog (the Right Way)?
Check out my ultimate guide How to Start a Blog (on the Side).
Thank you.
Just started. I don’t even know what I’m doing, but I’m doing it anyway.
I have learned alot.
I’m so happy to hear that, Margaret! Wishing you the best of luck with your blog 🙂
And if you want my comprehensive guide on getting started the right way, check it out here: https://www.ryrob.com/how-start-blog/
Hello Ryan! This post is very informative, it helped me ease my mind when using images.
I’ve a question: I was writing a post in my blog, that talks about choosing a niche for a fitness blog. At the end of the article I made a list of the best fitness blogs.
I did the same as you did in your post about choosing a niche. I put images of the homepage of these blogs when I refer them.
I took print screens and copy pasted, is that alright?
Thank you, stay well.
Glad to hear that, Manuel! Yep, that’s the way to do it 🙂
Should images be follow or no follow.
I’d lean towards setting image links to nofollow, personally. That said, I rarely hyperlink my images.
Very well written and comprehensive summary on this topic. I like your structure, you seem to be experienced in blog writing. I will try to do my best 😉
Helpful article on the topic! I’m wondering what is the typical process of obtaining rights to use an image on your website or blog? Specifically I work on a travel blog and usually feature specific locations around the world. i.e. Best beaches in the US. And I want to feature a photo of New Smyrna Beach. Any guidance on how to go about that would be great!
Thanks for your help! Much appreciate post for someone starting a new blog.
Thank you.
Just started. I don’t even know what I’m doing, but I’m doing it anyway.
I have learned alot.
SujonMindset
Very helpful tips! Using images not only makes blogs more readable but also helps explain ideas better.